 Elanorya
Ring photography
Ring photos that keep the ring
A ring is small, round and mostly reflective — three properties that make it the hardest jewelry category to photograph and the easiest to get subtly wrong. This page is about the details worth checking.
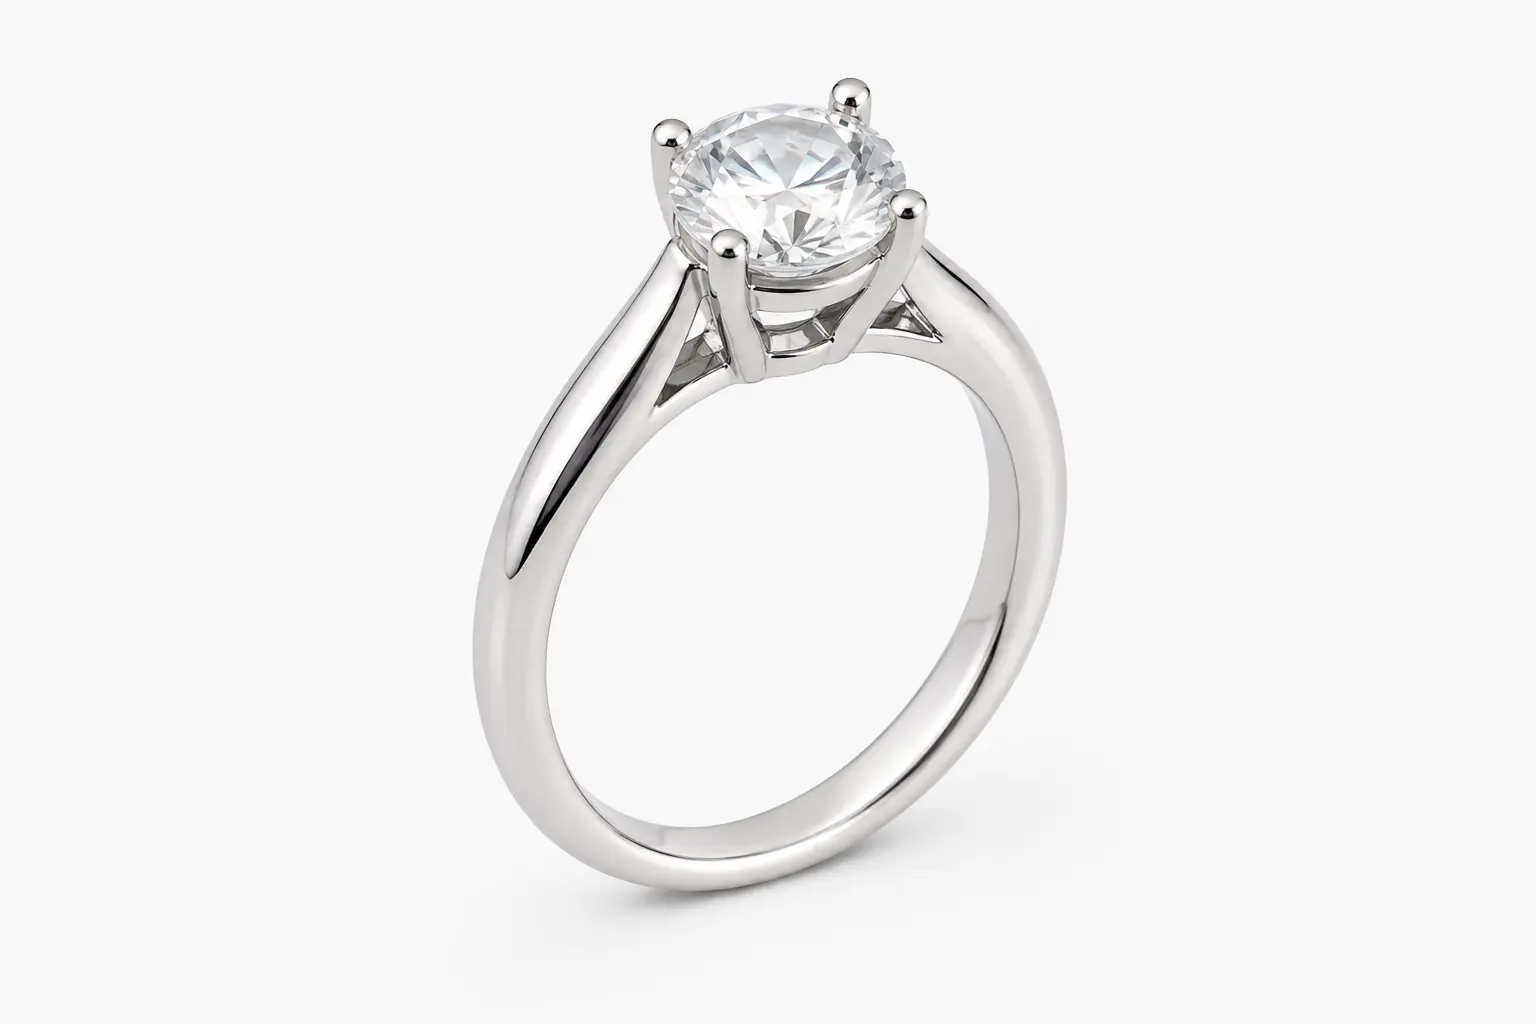
The parts of a ring that break in photographs
Naming them is not pedantry. Every one of these is a place where a ring photo quietly stops being a photo of your ring.
Head
The structure holding the stone. It carries most of the perceived value and most of the fine detail, so it is the part that most needs pixels.
Stone
Count, orientation and colour all matter. Preservation is instructed; verifying it is your job, and the app gives you a report path when it is wrong.
Prong
Often only a few pixels wide in a full-hand frame. Prongs are the first detail to disappear and the most obvious when they do.
Shoulder
Where the band flares into the head. Pavé here blurs together before anything else on the ring.
Shank
The band itself. Its width is the main scale cue a viewer has, and its circle is what foreshortening destroys.
What goes wrong, and what to do about it
Most of these are camera problems rather than processing problems — which is good news, because camera problems are fixable before you spend a credit.
Shank foreshortening
Shoot closer to eye level so a round band stays round. A foreshortened source produces a foreshortened result.
Prong and setting loss
Frame tighter on the head. Detail a few pixels wide in the source cannot be recovered afterwards.
Stone count drift
Count stones in the output against the source, every time. Instructed is not the same as guaranteed.
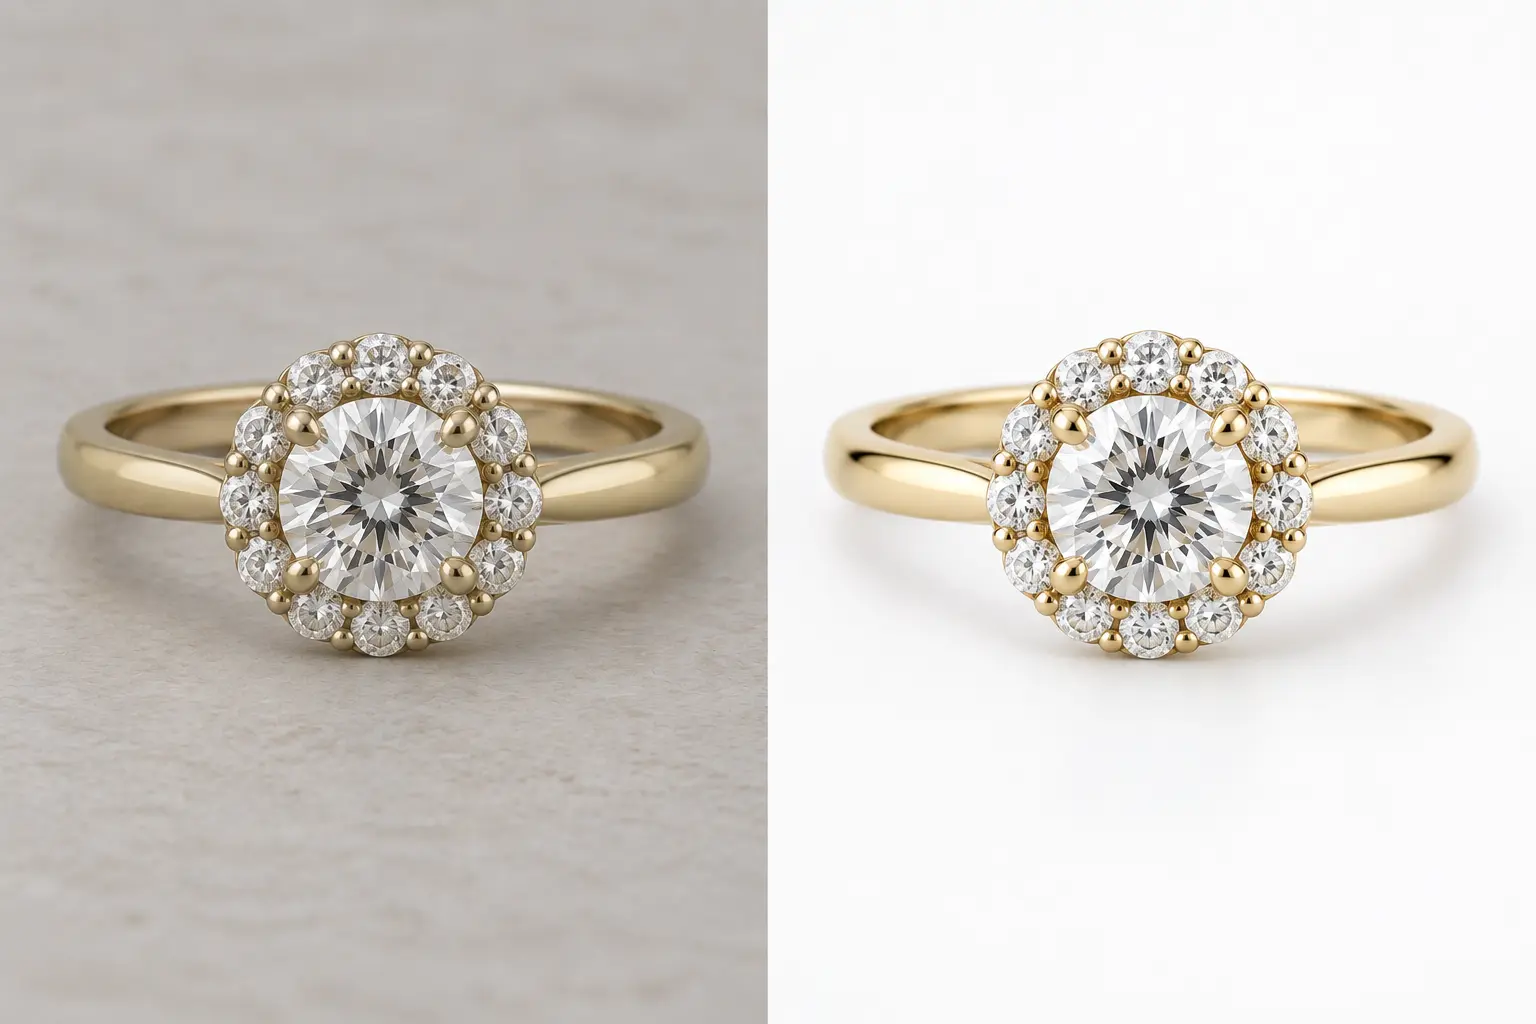
Halo and pavé collapsing
Inspect at full size. Small repeated stones merge in a thumbnail long before you would notice.
Metal colour shifting
Use neutral white balance when you shoot, so rose gold cannot be read as warm yellow gold.
Wrong hand or finger
Pick the model photo deliberately. The ring is placed on the ring finger; if your listing photos should show a different hand, choose a model photo that already does.
Close-up or wide?
This is the one genuine choice you make for a ring, and it is a real trade-off rather than a quality setting.
| Situation | Choose | Why |
|---|---|---|
| The value is in the setting | Close-up model photo | Close framing gives the head enough pixels for detail to survive. |
| You want lifestyle context | Wide model photo | You gain pose and setting, and lose fine detail on the ring itself. |
| Buyers keep asking about size | On-hand preview plus a measurement in the text | A hand gives proportion; only text gives millimetres. |
| Source shot steeply from above | Reshoot first | Foreshortening carries into every output. Fix it at the camera. |
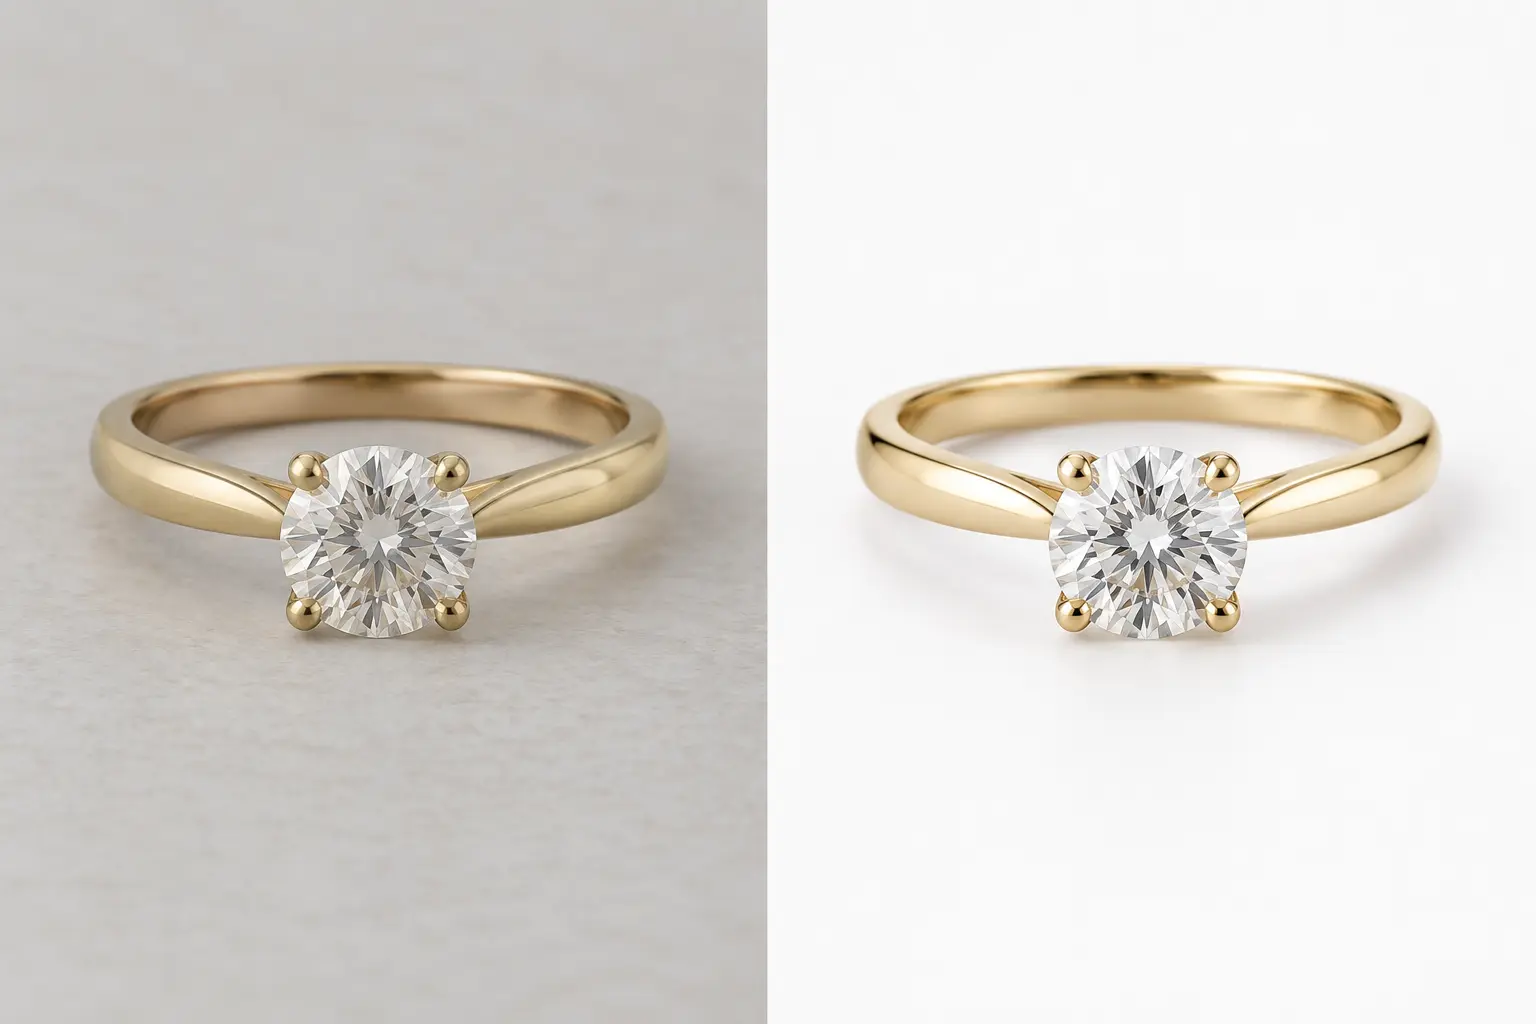
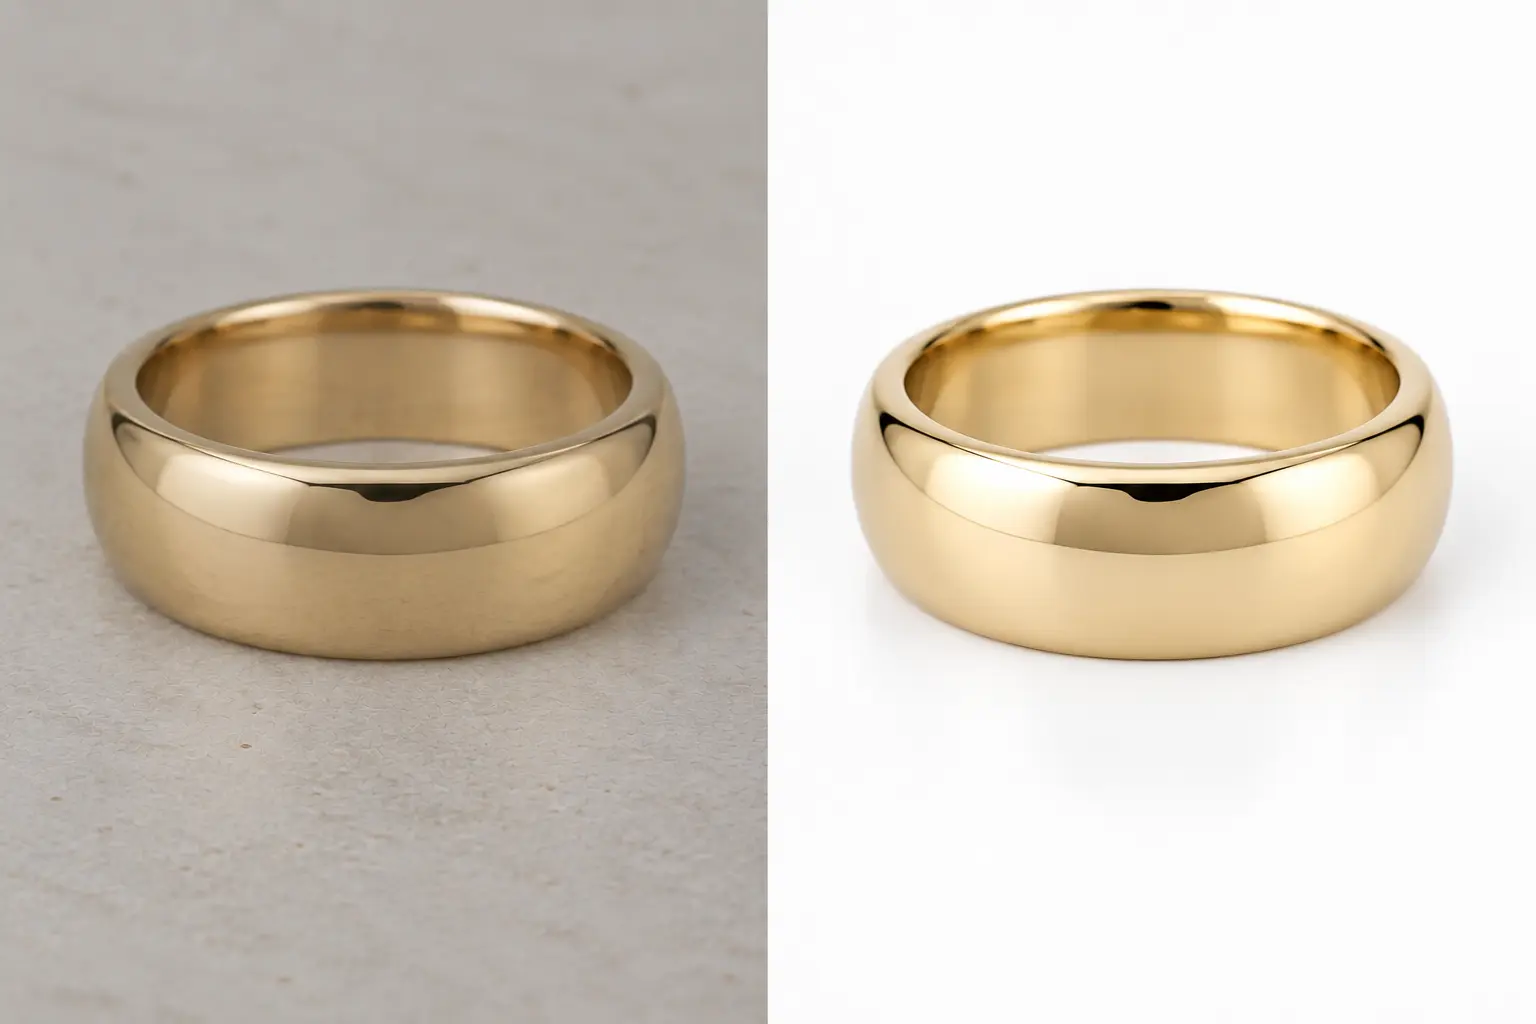
Ring results
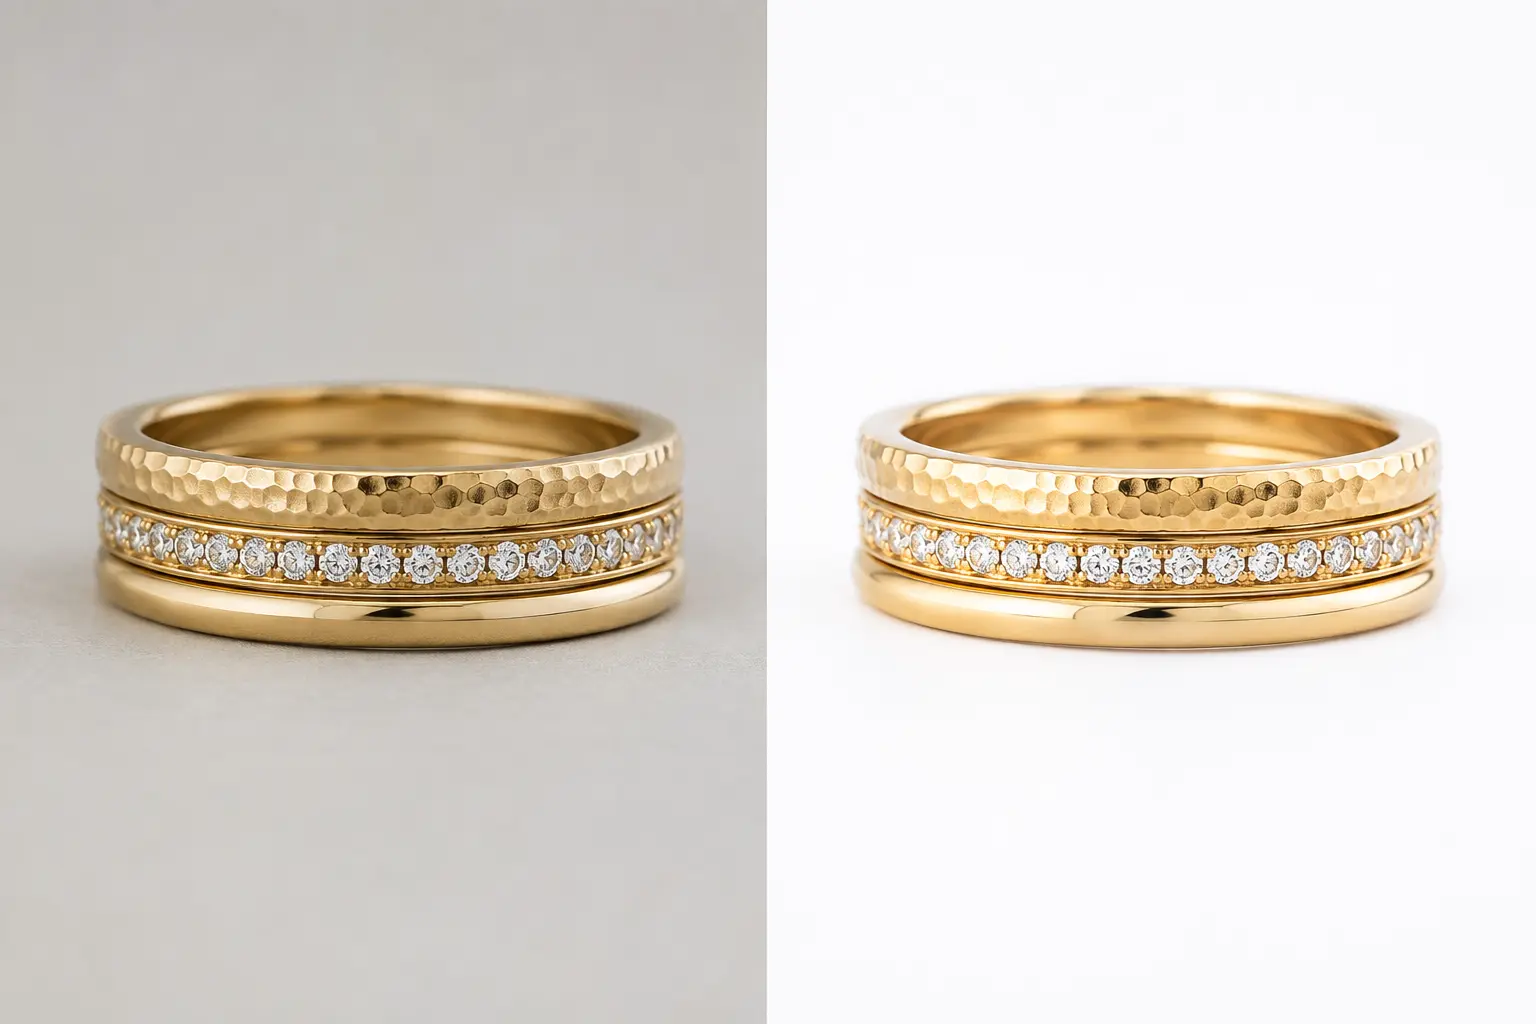
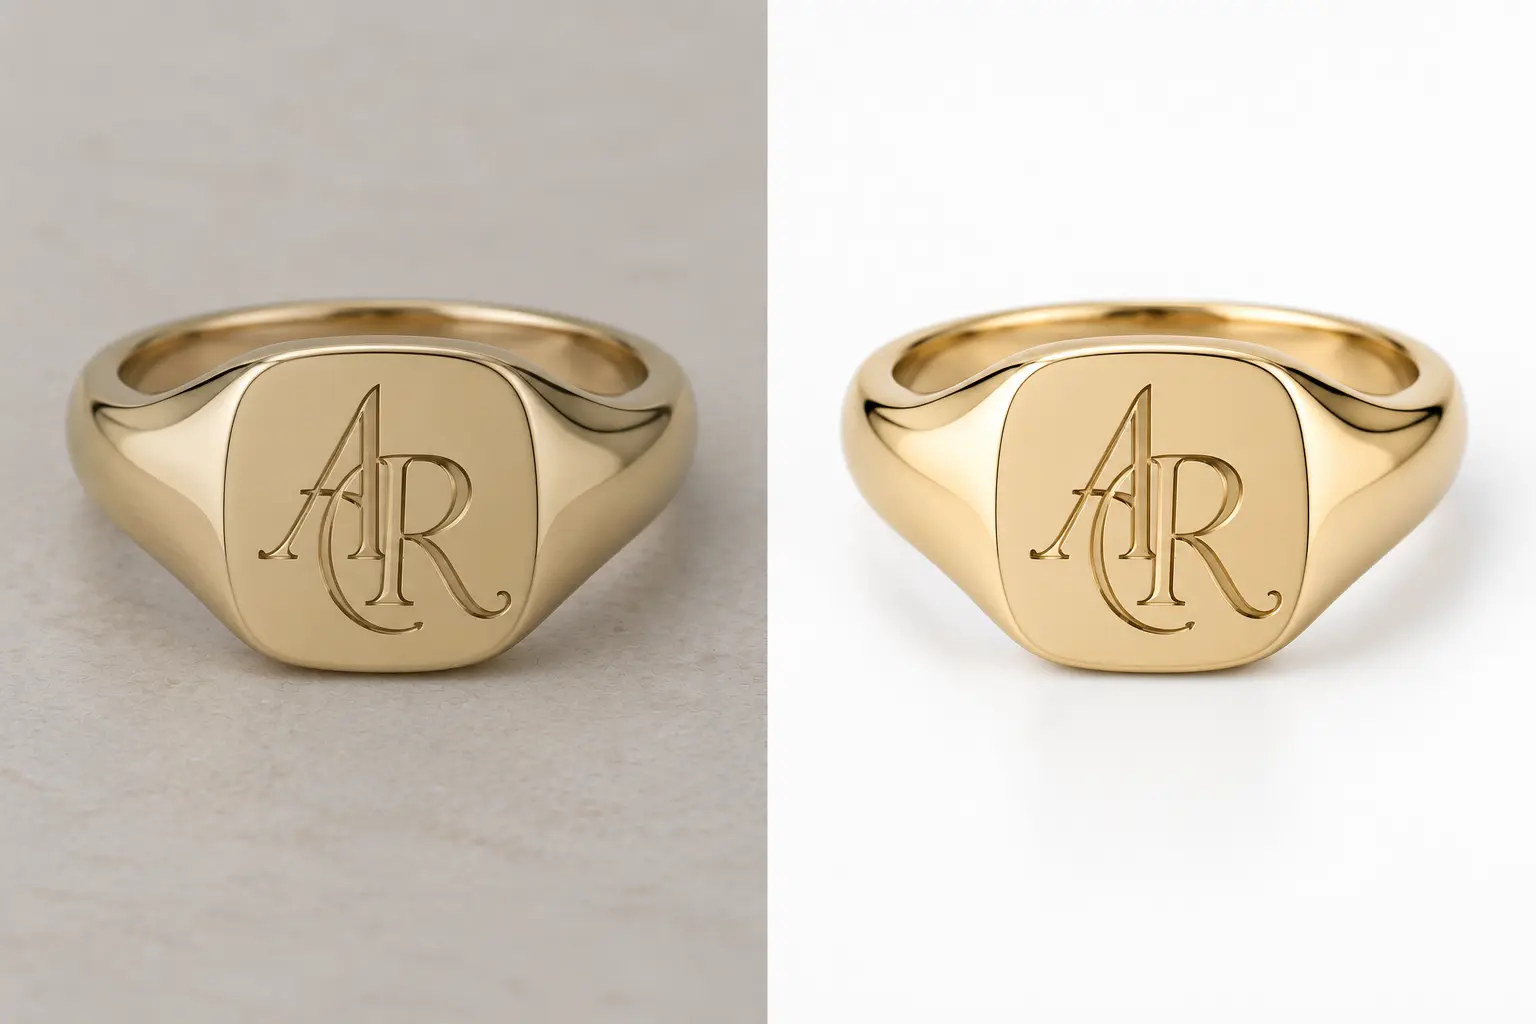
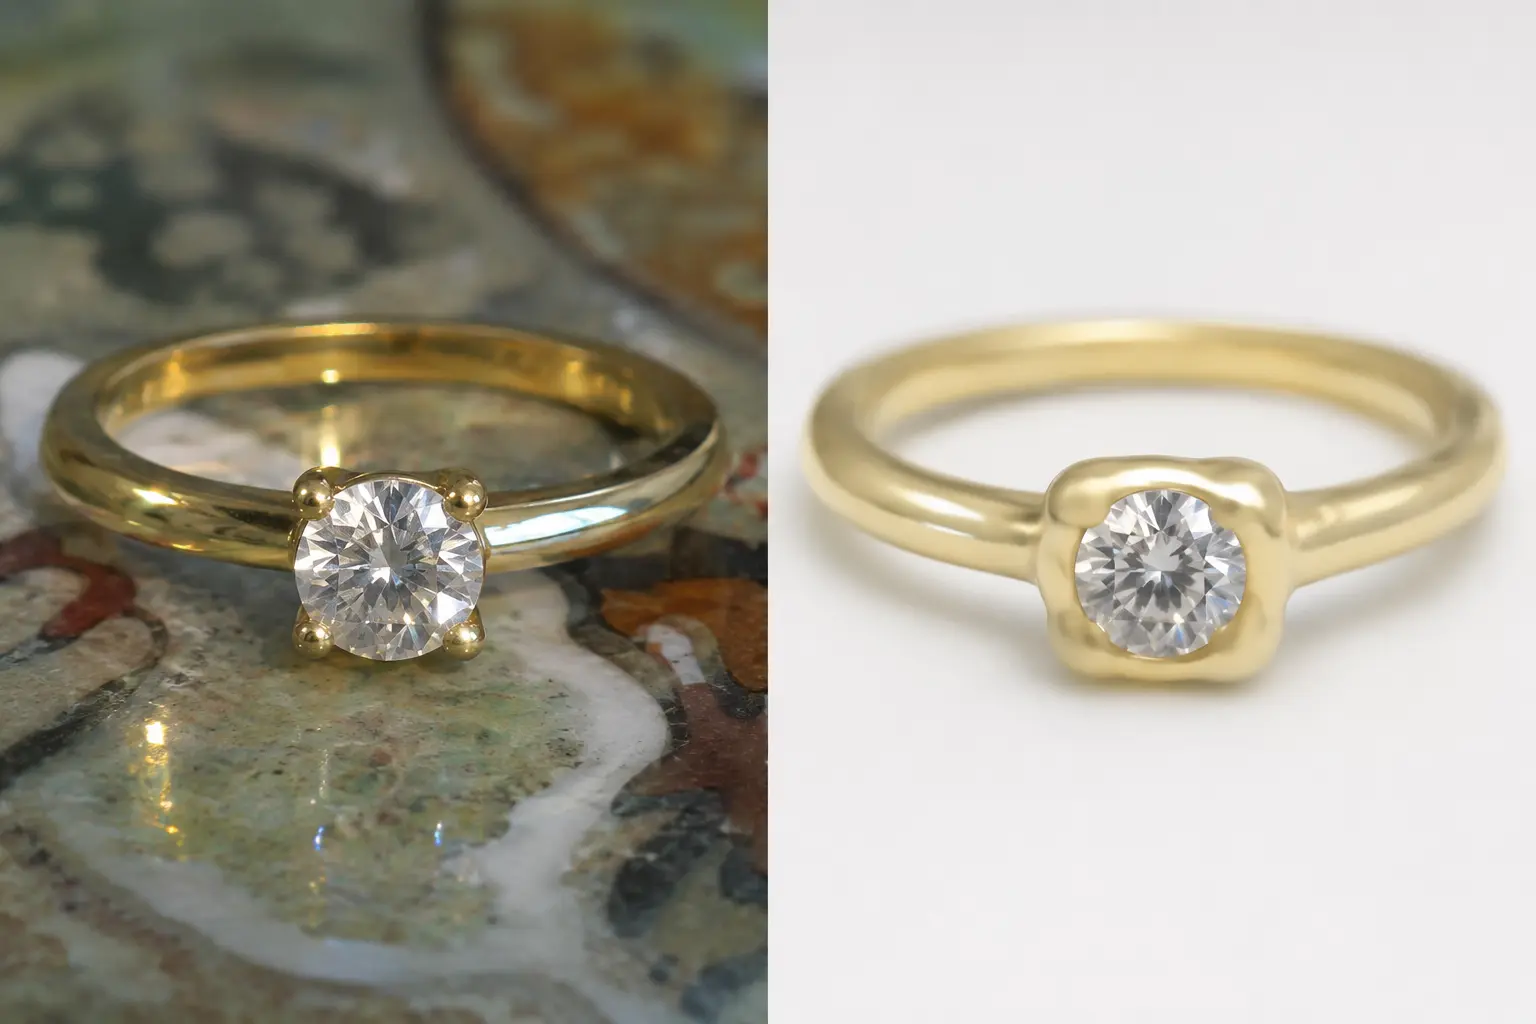
Source photo alongside output, so you can judge the parts named above rather than an impression.
Questions
Will the ring still be my ring?
The system is instructed to preserve the silhouette, stone count, motifs, engraving, metal colour and item count, and not to redesign or simplify the piece. That is an instruction to a generative model rather than a guarantee, so check the output against your source — and report it from inside the app if the stone count or metal colour is wrong.
Can I choose which finger it goes on?
The ring is placed on the ring finger. What you do choose is the model photo, so if you need a particular hand or pose, select a catalogue photo that already shows it — or upload your own model photo.
Why does my band look oval?
Because the source was photographed at a steep angle. A circular shank projects as an ellipse from above, and that projection carries into the result. Reshoot closer to eye level.
Does an on-hand photo show ring size?
No. It shows proportion, which is what buyers are usually asking about, but the actual size still belongs in your listing text. No photograph can substitute for the measurement.
Can I use my own hand photo instead of a catalogue model?
Yes. You can either pick from the model catalogue or upload your own photo as the base.
What resolution do I get back?
On-model results come back at 1K, and the output takes the aspect ratio of the base model photo rather than one you pick.